27 January 2011

Pineapple Tarts (enclosed version)


This is my final bake for Chinese New Year...enclosed version of pineapple tarts, yes, I need to clear the pineapple paste from my previous baking. I didn't use the previous recipe but try something new, I want the pastry which is not too soft and easy to handle, I don't like something which is too creamy or cheesy...so I chose J3ss Kitch3n Super Melty Pineapple Rolls. 


I bought the QBB pure ghee from NTUC, when I whisked the ghee with sugar, and sifted in the flour I knew that it was going to be an interesting bake! The mixture was so smooth and soft, the dough is very easy to handle, the dough didn't melt even until I rolled the last ball! I would suggest this recipe to whoever like to bake pineapple tarts because it wouldn't dissappoint you and not much skills is required to roll the dough into balls. 


Recipe adapted from J3ss Kitch3n original recipe from QBB

Ingredients:
Ready made pineapple paste, rolled in balls

250g QBB
50g icing sugar
2 egg yolks
1/2 tsp vanilla essence
1/4 tsp salt (omitted)
350g top flour
50g corn flour
1 egg yolk - for glazing
1/4 tsp salt - for glazing (omitted)
1 tsp water - for glazing


Steps:
1. Using a hand whisk, cream QBB and sugar until light. Whisk in egg yolks 1 at a time until well combined. Add essence and salt and whisk until fluffy.
2. Sift top flour and corn flour together and fold into the QBB mixture to form a soft dough.
3. Divide dough using a tsp and roll into balls.
4. Flatten a piece of dough and place a piece of the roll pineapple paste in the middle. Bring the edges of the dough together and press lightly to seal. Roll it in between your palms to shape it into a roll.
5. Place rolls on baking tray lined with parchment paper or paper casing.
6. In a small bowl, mix the egg yolk, salt and water together for the glaze.
7. Brush the glaze on the pineapple rolls with a brush.
8. Bake in preheated over of 180C and bake for 20-25 mins or until the rolls are pale golden brown.
9. Cool on wired rack before storing in airtight container.


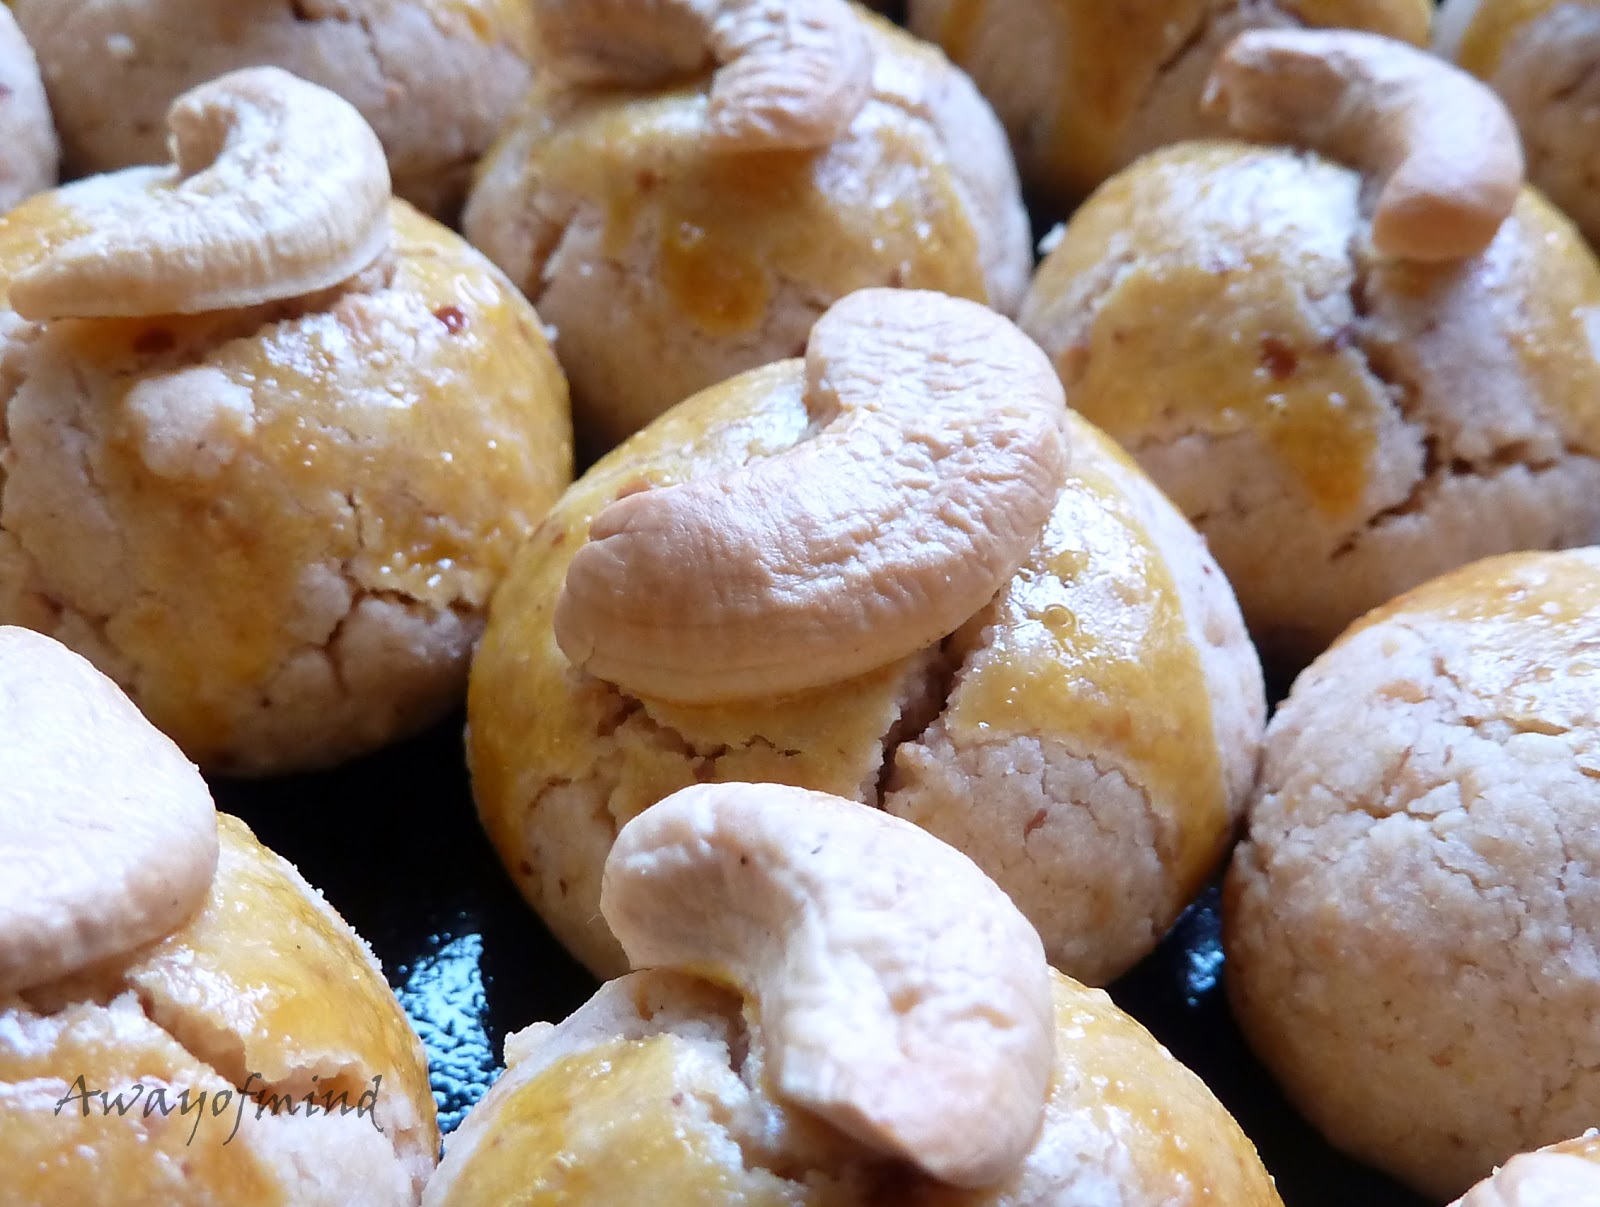
Melt-in-mouth pineapple tart!


Wishing you a Happy Chinese New Year!
迎春接福,招财进宝,
心想事成,万事如意!

19 January 2011

Germany Butter Cookies 德国酥饼


Gabriel was not happy these few days because mama spent too much time in the kitchen. Today I decided to let him joined me in the kitchen, we made this Germany butter cookies using Min's recipe but I reduced the butter content to make the dough not too sticky. Gabriel loves to play with the dough! I let him sprinkled sugar stars on the cookies, I think the sugar stars made the cookies look prettier.

I was busy juggling both my son and the cookies, tried to make the cookies in seconds. Most cookies are not totally round, there are faults in each of them. But to me these are the best cookies for my family because Gabriel is so happy to eat them! He run in the kitchen, tiptoes to reach the cookies container, grasped the cookies with his little fingers...I told myself, I should let him join me baking CNY cookies in future.


Recipe adapted from Min's        
250g butter (I used 150g)
80g icing sugar (I used 50g)
250g potatoes starch

100g plain flour

Steps:
1. Mix butter and sifted flour into the electric mixer, blend until incorporated.
2. Add potatoes starch and flour, mix into dough.
3. Roll the dough into small balls, flatten with fork.
4. Preheat the oven to 170C bake for 15-20 mins.


Does it looks more American :D

17 January 2011

Almond Cookies


The Fourth cookies ... Melty Almond Cookies...oh, I should say crunchy melty almond cookies. The flaked almonds provides extra texture to this cookies, when I popped the cookies into my mouth, it melted-in-my-mouth; leave behind the almond flakes for me to crunch. The recipe is really easy and not difficult to achieve the desire result, Jess, you are right!


Almond cookies ready for oven.


Yummy! I ate the cookies immediately when it was out from oven!  


Recipe adapted from J3ss Kitch3n
Ingredients:
150g self raising flour
80g icing sugar (I reduced to 50g)
80g ground almond (I used 100g)
80g diced almonds
100g corn oil
1/2 tsp almond essence
Egg yolk for brushing (omitted)

Steps:
1. Sift together flour and icing sugar, add in ground almond and diced almonds, mix well.
2. Mix almond essence into corn oil and stir well.
3. Mix both ingredients together to form a soft dough. (the dough will come together when you roll them so don't worry about it being crumbly)
4. Shape into small round balls. Place on the baking paper. 
5. Decorate with toppings of your choice and bake in a preheated oven at 170°C for 15-20 mins or until slightly brown.
6. Cool completely on wire rack before storing into airtight containers.


I'm submitting this post to the Aspiring Bakers #3 My Favorite CNY Cookie (Jan 2011), hosted by J3ss Kitch3n

13 January 2011

Pistachio Maple-Syrup Butter Crisps 开心糖浆酥


My third cookies for CNY is ... Pistachio Maple-Syrup Butter Crisps, I name it 开心糖浆酥!I baked this crisps because Gabriel likes butter crisps and the recipe is simple. The butter crisps recipe is taken from The Australian Women's Weekly: Maple-Syrup Butter Cookies.  

Recipe adapted from The Australian Women's Weekly: cupcakes & cookies
250g butter, softened
1 tsp vanilla extract
160ml maple syrup
220g plain flour
70g cornflour
some roasted pistachios (I did it old fashion way; used the pounder, pounded the pistachios into small pieces)

Steps:
1. Preheat the oven to 180C. Line the oven trays with baking paper.
2. Beat butter, extract and maple syrup in small bowl wth electric mixer until light and fluffy; stir in combined sifted flours.
3. Spoon mixture into piping bag, pipe the mixture 3cm apart onto trays. Sprinkle pistachios on it.
4. Bake crisps about 15-20 mins; cool on trays. 


Pistachio Maple-Syrup Butter Crisps ready for oven.


Fresh from the oven, my kitchen was filled of maple-syrup fragrance! Yummy, yummy! 


Wishing all bloggers 兔年开开心心!


12 January 2011

Foodbuzz: No. 5 on 11 Jan, 2011


It was a surprise and great honour for being selected to the Top 9 in Foodbuzz on 11 Jan, 2011. To me, it seems unreal. I want to thanks the Foodbuzz community editors and users for chosing my Cranberry Pineapple Tart Cookies as the best of no. 5 out of 4,055 posts. Thank you!


11 January 2011

Cashew Nut Peanut Cookies


My second cookies for this year CNY... Cashew Nut meet Peanut, they become lover forever. One-year seems a very short period but for me I have walked a far journey in my baking life. A year full of thanks. I'm thankful to God that I've linked up with some bloggers that unselfishly guiding the beginner like me, sincerely pointing out mistakes in my baking. When I saw the end result of this peanut cookies, I was overwhelming with emotion because one year ago, I didn't know 糖粉 is icing sugar. This end result is to share with you all.


I bought the whole cashew nuts which need to half into two for easy display on the top of peanut cookies.

Recipe adapted from my previous baking: Peanut Cookies: Part 2 

500g groundnut mix
200ml peanut oil
400g plain flour
200g icing sugar
1 tsp salt
1 egg yolk for glazing
Some cashew nuts


Steps:
1. Bake the groundnut mix in the oven on low heat until fragrant (~150C for 15 mins)
2. Sift the plain flour into bowl, add sugar, groundnut mix, salt and oil (oil has to add gradually, stop when the mixture can be hold as ball). Mix and knead until dough incorporate.
3. Make the peanut balls using hands (I think this is faster ^_^), place the peanut balls on baking tray.
4. Glaze with egg and press a piece of cashew nut on top of each peanut ball.
5. Place in oven, bake at 200 for 15-20 mins.


Note: After baking for 15 mins, the peanut cookies started to crack, it means the peanut cookies is ready.


The mixture after kneading. The groundnut mix I used is in grain form like the size of caster sugar. To get a smooth cookies, what you need to do is to knead the mixture as much as possible let the icing sugar melted and blended with the flour and groundnut mix. 


Cashew nut peanut cookies ready for oven


I'm submitting this post to Aspiring Bakers #3: My Favorite CNY Cookie (Jan 2011) which hosted by J3ss Kitch3n to support the event.

09 January 2011

Cranberry Pineapple Tart Cookies


This is my first cookies for this year CNY...Cranberry Pineapple Tart Cookies! I'm pretty satisfy with it pastry texture, it is light and full of butter flavour! 


Pineapple filling which I bought from Giant, it is very sticky and easy to roll into small balls.


Pineapple tart cookies ready for oven. Place a piece of dry cranberry on top of each pineapple tart to enhance the presentation. The pastry dough was not easy to handle, it soften easily. I divided the dough into smaller portions and keep others chill when I work on one. 


Recipe adapted from 苏联妈妈

140g all purpose flour
10g cornflour
140g cake flour
225g butter
40g sugar
40g milk powder
1 egg yolk
some pineapple jam filling


egg wash: 1 egg yolk and 1 tbsp icing sugar, stir until sugar dissolve.  

Steps:
1. Line a baking tray with parchment paper. Preheat oven to 175C. With hands, rub in butter to all the other ingredients until a crumbly texture.
2. Lightly pat it into a dough form and wrap it with a cling wrap. Chill for 30mins. In the meantime, roll out your pineapple jam filling into their shape.
3. Flatten it and wrap the jam filling. For nastars, pipe out the pastry dough and roll the pineapple jam filling into the pastry.
4. Bake for 20mins or until slightly brown. Let it cool on a wire rack before storing.


This is not a perfect pineapple tart cookies roll, but is pretty enough to serve my family and friends ^_^ Wishing all bloggers Happy Baking and 兔年吉祥如意!  


I'm submitting this post to Aspiring Bakers #3: My Favorite CNY Cookie (Jan 2011) which hosted by J3ss Kitch3n