06 February 2015

Peanut Cookies 花生饼


Peanut Cookies is sure in my menu because it is one of my hubby's favourite! This was the second batch I baked in a row, this year I changed the peanut cookies pattern a bit, it is with indentation in the middle. My first batch of peanut cookies actually didn't take the indentation well, the cookies dough cracked when I made the indentation in the middle. So I added more oil for my second batch of baking so the dough is able to bind well. 

To get a smooth peanut cookies, you need to use icing sugar and make sure you knead the dough well! Love this crumbly and addictive cookies!! Oops! the top of the cookies is way too dark...next time no more adding of golden syrup in the glaze. 

想家的时候。。。就是一直在厨房弄着想恋又熟悉的食物。把那对生命的热诚都化成了热量吃进肚子里了。。。所以说不在这个季节变胖是假的!!但是哟。。。那花生饼是真的弄得有点黑过头了啦。。。下次不会在蛋液里加糖酱了!!


Ingredients:
500g fine ground peanuts
200ml peanut oil (may need to add a bit more oil, it depends on the flour you used)
400g plain flour
200g icing sugar
1 tsp salt
1 egg yolk for glazing + a few drop of golden syrup (should not add golden syrup next time)


Method:

1. Bake the ground peanuts in the oven on low heat until fragrant (120C for 15 mins)

2. Sift the plain flour into bowl, add sugar, ground peanuts, salt and oil (oil has to add gradually, stop when the dough can hold up into ball). Mix the mixture with a spatula then knead until the dough is smooth.

3. Make the peanut balls using hands, place the peanut balls on lined baking tray. 

4. Glaze with egg and used the back of a chopstick to make indentation on top of each peanut ball. 

5. Bake at 180C for 15-20 mins. or until the cookies turned slightly brown.


05 February 2015

Kuih Bahulu 鸡蛋糕


After waiting for more than five months, eventually I received all the parcels! The Kuih Bahulu mould is the one I'm waiting all this while. This little flower cake is filled with its unique eggy aroma, it will retain its crispy crust and fluffy sponge for a few days if you keep it in air tight container. 

It was a chore for me to remove the Kuih Bahulu when I started first batch of baking, but when the mould finally heat up to its optimum temperature (may be third batch of baking), it is a bliss to remove the cake from the mould. I wish I could have more than one Kuih Bahulu mould at the time of baking as it can save up lot of baking time.

The crucial steps to ensure a successful Kuih Bahulu are: 1. Heat up the greased Kuih Bahulu mould properly so the cake will not stick on the mould after baking. 2. Whisk the egg mixture to light and pale before adding the sugar, then whisk the mixture to fluffy light again. 3. Gradually fold in the flour and mix well the flour with the egg mixture. The end result is the beautiful crisp and spongy Kuih Bahulu! The ratio for egg and sugar should be 1:1 portion.


十二箱的邮包在经过五个多月的等待终于都来到卡达尔!在里头有我等了好久的鸡蛋糕模子,昨晚终于开工烘焙鸡蛋糕了。这个糕点除了鸡蛋香,那香脆的表皮和松软的蛋糕是让人回味的。我说呀下次回去时得买多倆个鸡蛋糕模,那么就可缩短烘焙鸡蛋糕的时间!

弄这蛋糕成功的要点有几个,第一:在倒蛋糊之前,模子一定要刷油加热!第二:鸡蛋液一定得打至发白才逐渐加糖,再充分打发。第三:面粉是逐渐拌入蛋液的。这些是得留意的要点。

Note on 8/2/2015: This Kuih Bahulu has to be consumed within 3 days, as the cake turns very dry on the fourth day.


Ingredients:
337g sugar
6 eggs (337g)
225g plain flour + a pinch of salt


Method: 
1. Preheat the oven at 200C. Greased the Kuih Bahulu mould and place it in the oven to heat up.
2. Fry the flour on a flat base wok over low heat for about 15 mins, until the flour is light.
3. In the mixing bowl, add 6 eggs and whisk on high speed until the egg is light and pale.
4. Gradually add sugar in 6~7 batches, in each adding make sure the egg is whisk to light and fluffy.
5. Fold in the flour in a few batches, the batter will turn thick and creamy. Make sure mix the batter well.
6. Take the mould out from oven and place a spoonful of batter into the mould, fill up the mould. Place the mould back to oven and bake for 10~12 mins. or until the cake turn lightly brown.
7. Use a toothpick to prick out the cake. Greased the mould and place it into oven for 2 mins before fill the mould with batter again. Repeat steps until all batter is used.
8. Cool the Kuih Bahulu on wire rack before keep in airtight container.  

01 February 2015

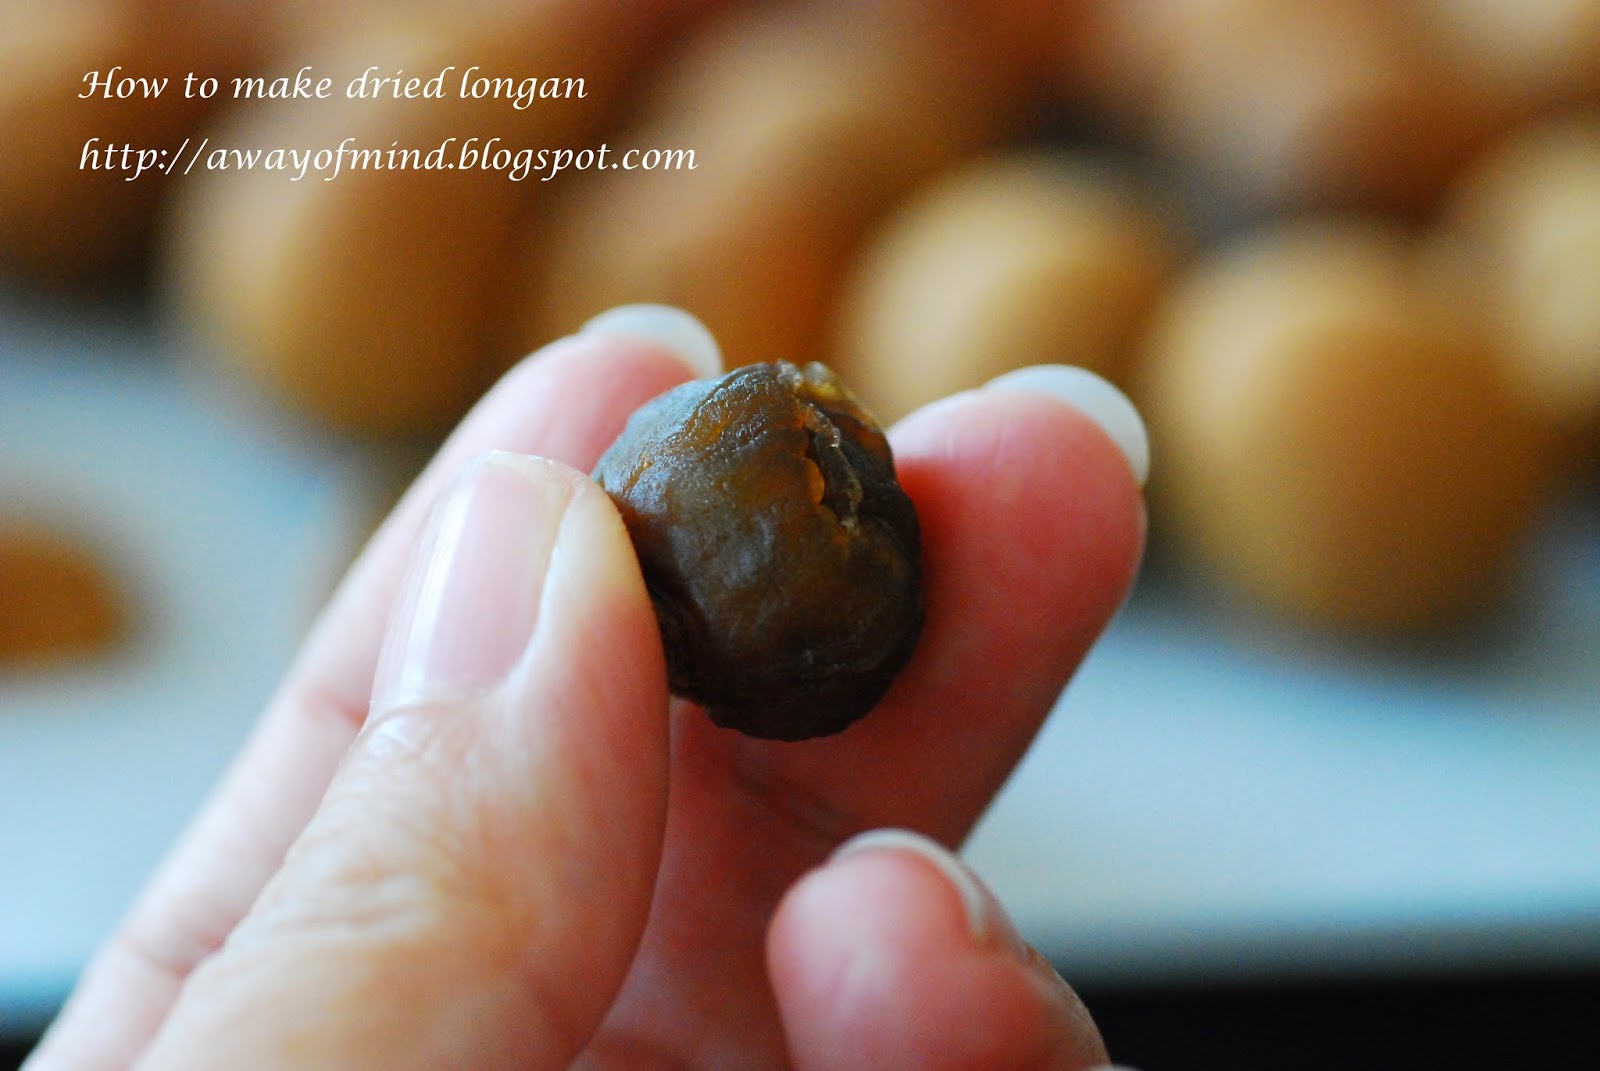
How to make Dried Longan 自制龙眼干


Personally feel that this desert land has taught me so much about appreciate and utilize the ingredients we can get. A lot of food we can't get here, if you chance on the ingredients you familiar with in the shop you better grab some before you decided what are you thinking to do with it. It may be funny to some but this is the life living here. I was so happy to see fresh longan one day when I was doing my grocery shopping at Lulu Hypermarket. The price tag is not cheap for a pack of fresh longan, but thinking I may not find longan on my next trip here, I bought it.

I made it into dried longan, what you basically need to do is everyday diligently bring the longan out under the sun and if you are lucky may be just a week of sun shine is good enough to turn the fresh longan into dried longan. For us who can't get the dried longan here, this is a way out from no way!! Through this sun dry process it produced soft and sweet dried longan texture. 

Thanks Carol for her recipe. 

每一天在我的厨房都有小小的惊喜,尤其是今天。。。龙眼干收成的时候。

前一阵子在Lulu发现竟然有卖龙眼,价钱也不贬宜但还是心疼把它买下了,耽心这次不买下次来可能就找不着了。这一收就是好几天,后来决定把它弄成龙眼干。有大太阳的日子就把那龙眼扛出外晒一整个下午。。。这样来去弄了一星期。果壳变黑时就可剖一颗来捡查,如果肉是深褐色那就是完成了。